Discover expert tips to explore Yellowstone on a budget. Save on lodging, food, and activities while enjoying an epic, affordable trip!
Hey friends, gather around! I just got back from an incredible trip to Yellowstone National Park, and I’m buzzing to share how I explored this iconic destination without breaking the bank. Visiting Yellowstone on a budget is totally doable, and I’m here to spill all my tips and tricks from my adventure. From finding affordable places to stay to eating like a local without spending a fortune, I’ve got you covered. Let’s dive into how you can plan an unforgettable Yellowstone trip while keeping your wallet happy.
Why Yellowstone Is Worth the Trip
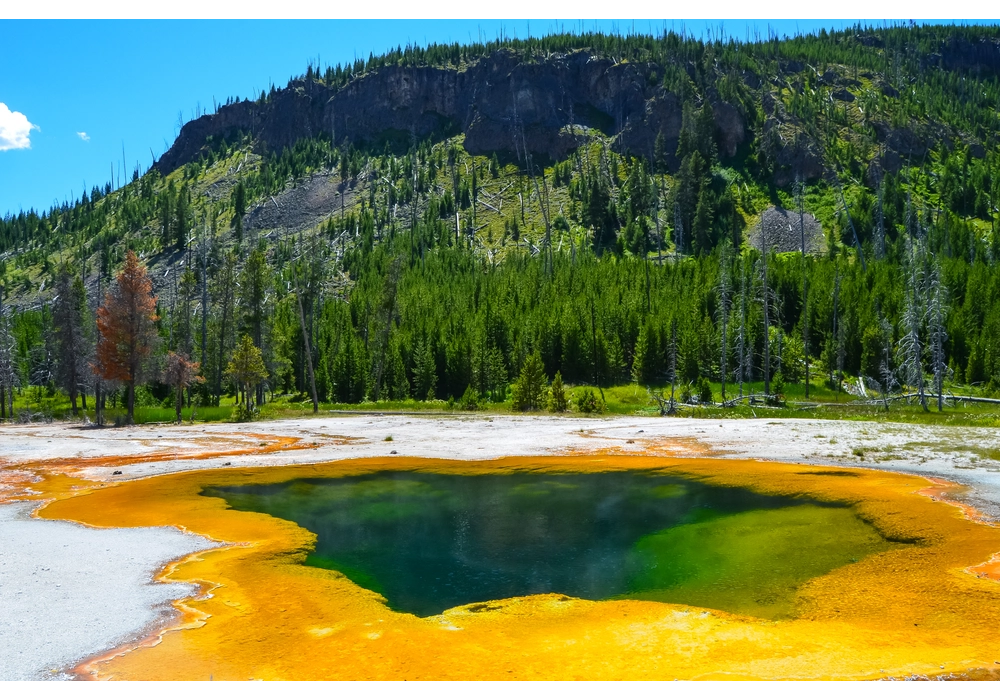
Yellowstone is like nowhere else on Earth. Geysers erupt, wildlife roams freely, and the landscapes are jaw-dropping. I was blown away by the vibrant hot springs and massive canyons. It’s a place where nature puts on a show every day. Budget or not, this park is a must-visit.
A Quick Overview of Yellowstone
Yellowstone spans Wyoming, Montana, and Idaho. It’s huge, covering over 2.2 million acres. You’ll find famous spots like Old Faithful and the Grand Prismatic Spring. Wildlife like bison, bears, and wolves are common sightings. My first glimpse of a bison herd felt unreal!
Why Budget Travel Makes Sense
Traveling on a budget doesn’t mean missing out. It forces you to plan smart and find hidden gems. I saved money and still saw Yellowstone’s best sights. You can too with some insider tips. Let’s get into the details of how I pulled it off.

Planning Your Yellowstone Adventure
Good planning is key to visiting Yellowstone on a budget. I spent time researching before my trip, and it paid off. Here’s how I approached it.
Timing Your Visit
Timing matters a lot. I went in late September, during the shoulder season. Crowds were smaller, and prices for lodging were lower. Spring (April-May) and fall (September-October) are great for budget travelers. Winter is cheaper but trickier due to snow.
Weather can be unpredictable, so I checked forecasts. September had mild days and cool nights. I avoided peak summer prices and long lines. Shoulder seasons also mean better wildlife viewing. I saw elk grazing without hordes of tourists around.
Setting a Realistic Budget
I set a daily budget of $100-$150 per person. This covered food, transport, lodging, and activities. I tracked expenses using a simple app. It kept me accountable. You can adjust based on your needs, but this worked for me.
Researching Free and Low-Cost Activities
Yellowstone has tons of free activities. Hiking trails like Fairy Falls are stunning and cost nothing. I used park maps from the visitor center to plan my routes. Entrance fees are $35 per vehicle for a week, so I shared costs with friends. The park’s website lists free ranger-led programs, which were super informative.
Getting to Yellowstone on a Budget
Getting to Yellowstone can be pricey, but I found ways to save. Here’s how I handled transportation.
Finding Affordable Flights
I flew into Bozeman, Montana, about 90 miles from the park. It’s one of the closer airports. I used Google Flights to track prices and booked two months early. Round-trip tickets cost me $250. Flying midweek saved me an extra $50.
Other nearby airports include Jackson Hole (Wyoming) and Idaho Falls (Idaho). Compare prices across these hubs. I set alerts on Skyscanner to catch deals. Flexibility with dates helped me snag cheaper fares. Avoid peak summer for lower prices.
Renting a Car or Using Shuttles
Renting a car was my best bet. I split a compact car rental with two friends, costing $30/day each. I booked through Turo for better rates than traditional agencies. Gas was reasonable, and I refilled in nearby towns like West Yellowstone to save. Park shuttles exist but are limited, so a car gave me freedom to explore.
Driving from Nearby Cities
If you’re close, driving is cheapest. I met a couple who drove from Salt Lake City, about five hours away. They saved on flights and enjoyed a scenic road trip. Plan for gas and parking fees. Carpooling with friends cuts costs further.
Where to Stay Without Breaking the Bank
Finding affordable lodging near Yellowstone was a game-changer. I explored several options to keep costs down.
Camping in and Around Yellowstone
Camping is the ultimate budget hack. I stayed at Madison Campground for $20/night. It’s centrally located, with clean facilities and epic views. I booked six months in advance on recreation.gov to secure a spot. Bringing my own tent and gear saved even more.
Outside the park, I found free dispersed camping in Gallatin National Forest. It’s rustic, so pack water and a portable toilet. Always follow Leave No Trace principles. I loved waking up to quiet forests. Check Forest Service websites for dispersed camping rules.
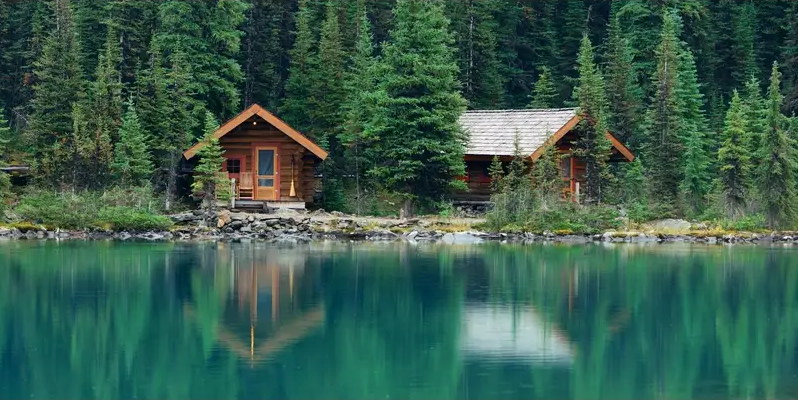
Budget Lodging Options
Not into camping? I checked out hostels and motels in West Yellowstone. The Yellowstone Under Canvas was a cool glamping option at $100/night for a shared tent. Motels like the Stagecoach Inn cost $80-$120/night in the shoulder season. I used Booking.com to compare deals and read reviews.
Airbnb has cabins and rooms in nearby towns like Gardiner. I found a cozy room for $60/night by booking early. Splitting with friends made it even cheaper. Always check cancellation policies for flexibility.
Staying in Nearby Towns
Staying outside the park saved me big. West Yellowstone and Gardiner are close to entrances and have budget-friendly options. I stayed in West Yellowstone for its lively vibe and affordable eateries. Cody, Wyoming, is another option, about an hour away. I drove in daily, which was manageable with an early start.
Eating on a Budget in Yellowstone
Food costs can add up, but I kept my meals affordable and delicious. Here’s how I ate well without overspending.
Packing Your Own Food
I brought a cooler with snacks, sandwiches, and veggies. Buying groceries in Bozeman before entering the park was a lifesaver. I spent $50 for a week’s worth of food at a local supermarket. Granola bars, peanut butter, and fruit were my go-to snacks. Cooking simple meals at campgrounds kept costs low.
Dining at Affordable Spots
When I wanted a break from cooking, I ate at local spots in West Yellowstone. Ernie’s Bakery and Deli had hearty sandwiches for $8. I avoided pricey park restaurants like the Old Faithful Inn dining room. Food trucks near park entrances offered tacos for $5-$7. Always check Yelp for budget-friendly spots with good reviews.
Using Campground Cooking Facilities
Most campgrounds have fire pits or grills. I made foil packet dinners with chicken and veggies—cheap and easy. A small camping stove was handy for coffee and oatmeal. I spent $10 on propane for the week. Sharing meals with friends made it fun and economical.
Exploring Yellowstone’s Attractions for Less
Yellowstone’s beauty doesn’t have to cost a fortune. I saw the park’s highlights without spending much. Here’s how.
Free and Low-Cost Activities
Hiking is free and offers the best views. I loved the Uncle Tom’s Trail for its Grand Canyon of Yellowstone views. Boardwalks at Mammoth Hot Springs were accessible and free. I joined a ranger-led talk at Old Faithful for no cost. These programs taught me about the park’s geology and wildlife.
Maximizing Your Park Pass
The $35 vehicle pass lasts seven days. I made the most of it by visiting multiple areas. I explored Lamar Valley for wildlife and Norris Geyser Basin for geothermal wonders. Sharing the pass with friends lowered the cost per person. If you plan multiple park visits, consider the $80 America the Beautiful Pass for year-long access.
Timing Sightseeing to Avoid Crowds
I hit popular spots like Old Faithful early in the morning. Fewer crowds meant better photos and a peaceful vibe. I watched the geyser erupt at 7 AM with only a handful of people. Late afternoons were also quieter. Check eruption schedules at visitor centers to plan your day.
Budget-Friendly Wildlife Viewing
Seeing Yellowstone’s wildlife was a highlight. I didn’t need expensive tours to spot animals. Here’s what worked.
Best Spots for Wildlife
Lamar Valley and Hayden Valley are wildlife hotspots. I saw bison, elk, and a bear from my car. Early mornings and dusk were prime times. I brought binoculars I already owned, which saved me from renting. Park roads are perfect for safe, budget-friendly wildlife viewing.
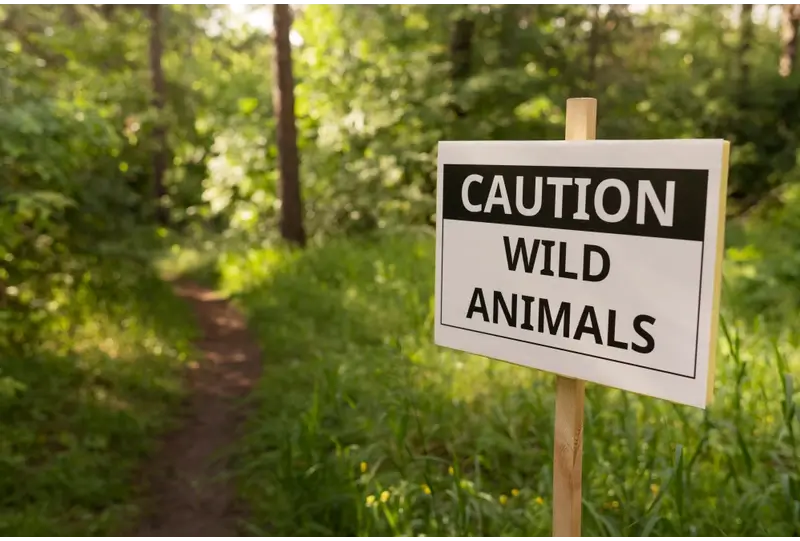
Staying Safe and Respectful
Wildlife is wild, so I kept my distance. I followed park rules, staying 100 yards from bears and wolves and 25 yards from bison. A zoom lens on my camera helped me capture shots safely. Free park brochures explain safety tips. Respecting animals kept my trip stress-free and ethical.
Packing Smart for Yellowstone
Packing right saved me money and hassle. Here’s what I brought to keep costs down.
Clothing and Gear
Yellowstone’s weather varies, so I packed layers. A waterproof jacket was essential for rain. I wore sturdy hiking boots for trails. A reusable water bottle and backpack were my daily essentials. I already owned most gear, so I didn’t need to buy much.
Budget Gear Rentals
If you don’t own gear, rent locally. I saw shops in West Yellowstone offering tents for $10/day. Check REI or local outfitters for deals. Borrowing from friends is even cheaper. I rented a bear spray canister for $16 for the week, a must for safety.
Saving on Guided Tours and Activities
Guided tours can be pricey, but I found ways to enjoy activities affordably.
DIY Tours
I created my own itinerary using park maps and apps like AllTrails. The Yellowstone Forever Institute offers low-cost educational walks, starting at $15. I skipped $200 private tours and still learned a ton. Free visitor center exhibits were surprisingly detailed. Self-guided adventures let me go at my own pace.
Group Discounts
If you want a guided experience, look for group rates. I found a half-day wildlife tour for $50 per person by joining a group of six. Check Viator or local operators for deals. Booking early online saved me 10%. Splitting costs with friends made it even better.
Money-Saving Tips from My Experience
Here are extra hacks I used to stretch my budget further.
Use Cashback and Rewards
I used a travel rewards credit card for purchases. It earned me points for future trips. Cashback apps like Rakuten gave me discounts on bookings. I saved $20 on my motel by booking through a cashback site. Check for student or military discounts too.
Avoid Peak Season Traps
Summer is crowded and expensive. I avoided July and August. Lodging and tours were 30% cheaper in September. Fewer people meant I enjoyed sights like the Grand Prismatic Spring without elbowing through crowds. Shoulder seasons are your friend for savings.
Connect with Locals
Talking to locals gave me insider tips. A West Yellowstone bartender recommended a cheap diner I wouldn’t have found otherwise. Park rangers shared free trail suggestions. Engaging with locals made my trip richer and cheaper. Don’t be shy—ask for recommendations!
Challenges I Faced and How I Overcame Them
Budget travel isn’t always smooth. Here’s how I handled bumps in the road.
Unexpected Costs
I hit a surprise $15 parking fee in West Yellowstone. To offset it, I cooked more meals instead of eating out. Always have a small emergency fund—$100 saved me from stress. Check parking rules in advance. I learned my lesson!
Weather Woes
Rain hit one day, but my waterproof gear kept me dry. I adjusted my schedule to visit indoor exhibits at the visitor center. Flexibility is key in Yellowstone. Always have a backup plan for bad weather. It made my trip stress-free.
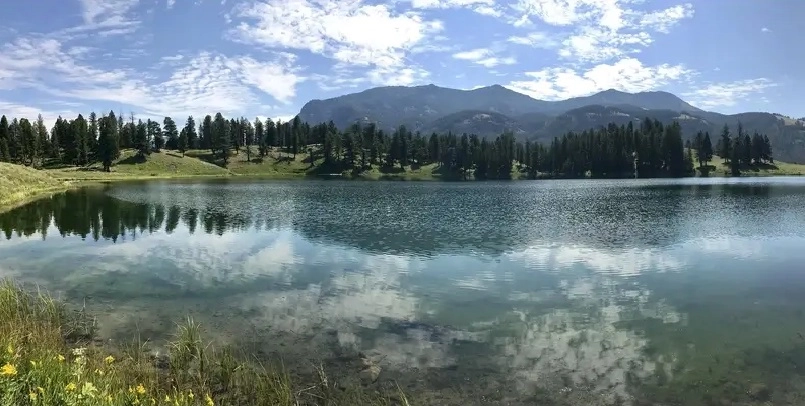
Making the Most of Your Yellowstone Experience
To truly enjoy Yellowstone on a budget, focus on what matters. I prioritized nature over fancy extras. Watching a sunset over Yellowstone Lake was free and unforgettable. Connect with fellow travelers for shared experiences. Those moments are what make the trip special.
Balancing Cost and Experience
I didn’t skimp on must-see spots like Old Faithful. But I saved by skipping overpriced souvenirs. Instead, I collected free park maps as keepsakes. Focus on experiences, not stuff. You’ll leave with memories, not clutter.
Capturing Memories Affordably
I used my phone for photos instead of buying a fancy camera. Apps like Lightroom Mobile enhanced my shots for free. I posted on social media to share with friends, saving on postcards. A small journal helped me jot down memories. It cost $5 and became my favorite souvenir.
Frequently Asked Questions
How much does it cost to visit Yellowstone on a budget?
You can visit Yellowstone for $100-$150 per day per person. This covers basic lodging, food, and activities. Camping and self-cooked meals lower costs. Splitting expenses with friends helps too. Plan ahead to avoid surprises.
When is the cheapest time to visit Yellowstone?
Spring (April-May) and fall (September-October) are cheapest. Lodging and tours cost less than in summer. Crowds are smaller, saving you time. Winter is even cheaper but requires special gear. I loved September for mild weather and deals.
Can I visit Yellowstone without a car?
Yes, but it’s tougher. Limited park shuttles run in summer. I recommend renting a car for flexibility. Splitting a rental with friends keeps costs low. Biking is an option, but distances are long.
What are the best free activities in Yellowstone?
Hiking trails like Fairy Falls are free and stunning. Ranger-led talks at visitor centers cost nothing. Boardwalks at geothermal areas are included with your park pass. Wildlife viewing in Lamar Valley is free too. Bring binoculars for the best experience.
Is camping in Yellowstone safe?
Yes, if you follow park rules. I used bear spray and stored food properly. Campgrounds like Madison are well-maintained. Dispersed camping outside the park is safe with preparation. Always check ranger guidelines for safety.
Conclusion
Visiting Yellowstone on a budget was one of my best travel experiences. With smart planning, I saw geysers, wildlife, and canyons without overspending. From camping under starry skies to hiking free trails, every moment felt epic. You don’t need a big budget to make unforgettable memories in Yellowstone. So grab your friends, pack smart, and start planning your adventure—you won’t regret it!