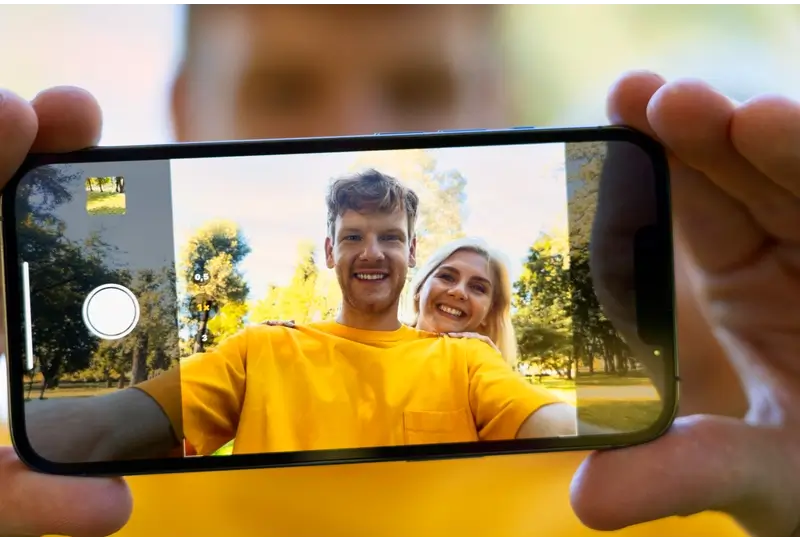
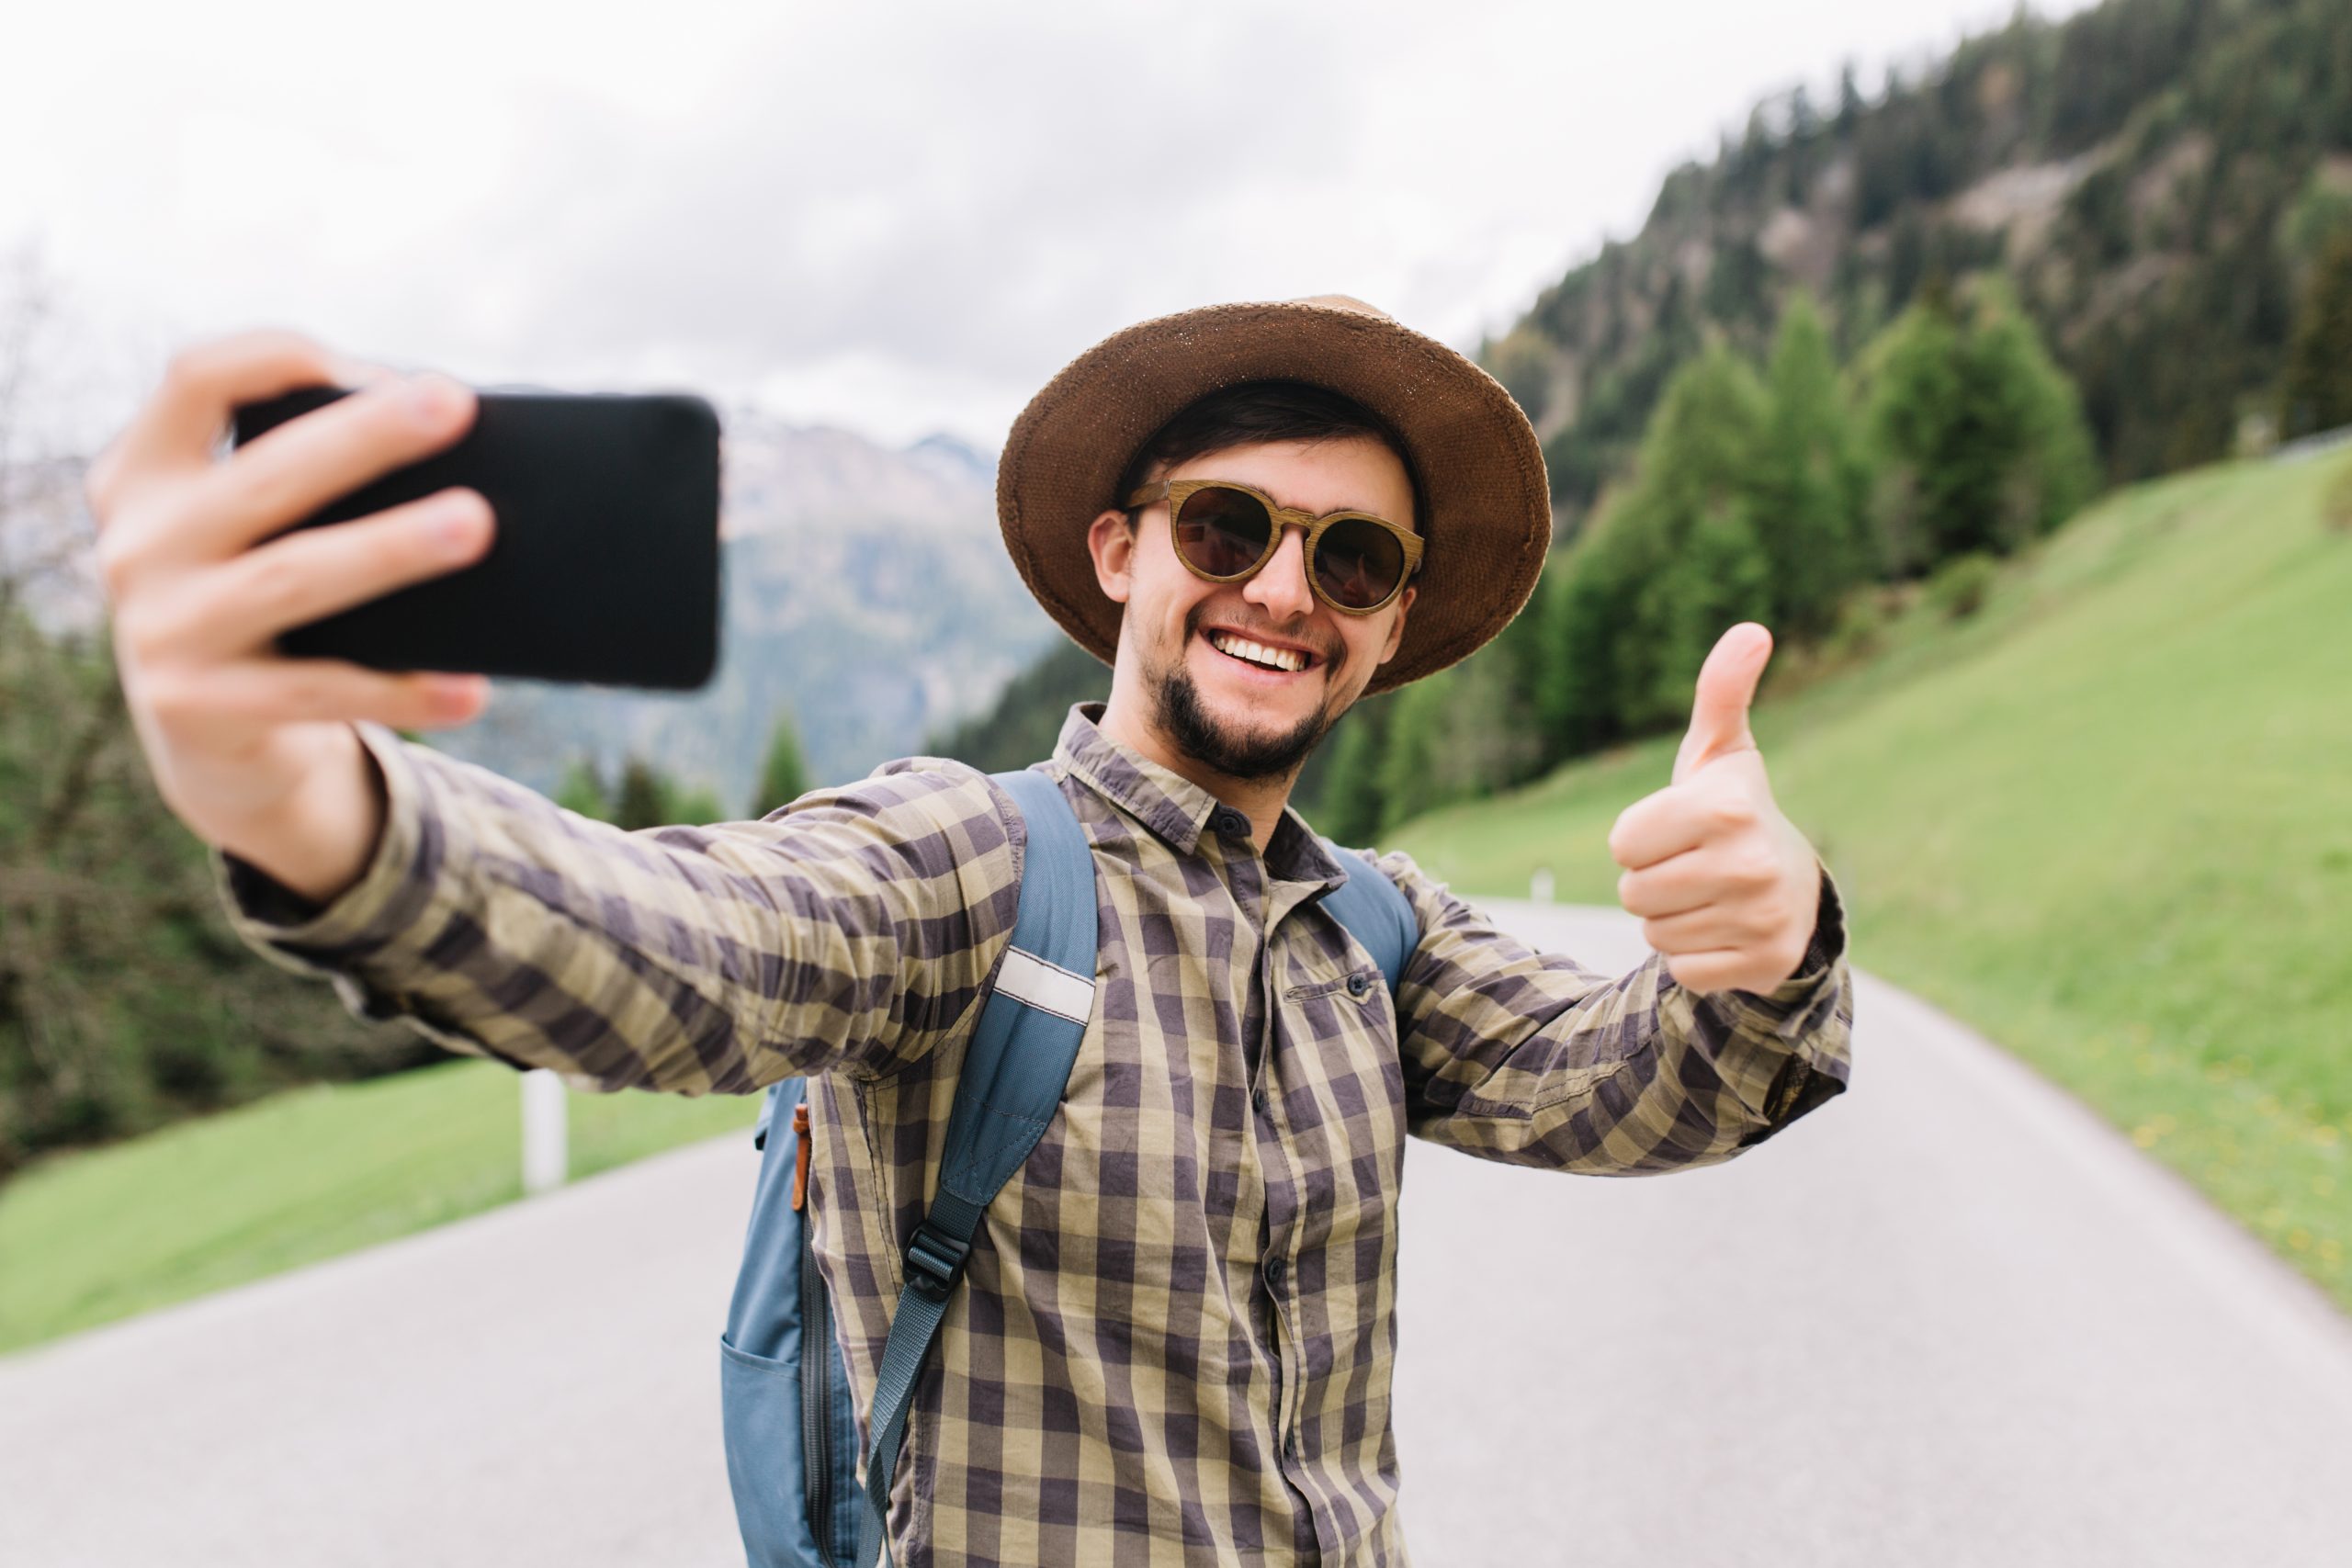
Master travel selfies with 10 expert tips! Learn angles, lighting, and confidence tricks to capture stunning solo travel photos. Click now!
Hey friends, gather around. As someone who’s wandered through bustling markets in Marrakech, hiked misty trails in Patagonia, and lounged on Bali’s beaches all by myself, I’ve picked up a few tips for taking travel selfies with confidence. You know, those shots that capture the magic without making you feel awkward or exposed. I’ve snapped thousands over the years, from quick phone grabs to setup masterpieces. Let me share what works best, like we’re chatting over coffee after a long trip. Trust me, once you nail this, your feed—and your memories—will thank you.
Gear Up Like a Pro
First off, let’s talk equipment. I always start with my smartphone—it’s light and always handy. But for sharper shots, I upgrade to a compact DSLR or mirrorless camera when space allows. Early on, I learned the hard way in Rome: a dead battery mid-Colosseum ruins my day. Now, I pack extra batteries and a power bank every time.
Accessories make all the difference. A sturdy tripod is my go-to for steady hands-free pics. I use a lightweight Manfrotto one that folds small—perfect for backpacking. Pair it with a Bluetooth remote shutter to avoid rushing back into frame. Selfie sticks? They’re great for wide angles, especially in crowded spots like Tokyo’s Shibuya crossing.
Don’t forget lens attachments if you’re phone-only. A wide-angle clip-on lets me fit more scenery without distortion. And a magnetic case keeps everything secure on the tripod. I’ve tested these in windy Scottish highlands—they hold up.
One more: a GorillaPod for uneven surfaces. It wraps around railings or branches, giving flexibility on hikes. With this setup, you’re ready for anything.

Scout and Plan Your Spots
Preparation sets the stage. Before any trip, I dive into Instagram and Pinterest for inspiration. Search locations, save poses, and note times for best light. In Santorini, I found a hidden viewpoint this way—avoided the crowds completely.
Research weather too. Rainy days in Seattle taught me to seek covered spots like markets for indoor selfies. Plan outfits that pop against backdrops—flowy dresses for beaches, neutral tones for cities. I practice poses at home to feel natural later.
Meet fellow travelers early. Hostels or tours are goldmines for photo swaps. In Vietnam, I linked up with a solo hiker via a Facebook group—we traded shots all day. It builds confidence and adds fun.
Pack light but smart. A small reflector folds flat and bounces light on dull days. Apps like PhotoPills help track golden hour. This upfront work turns good shots into great ones.
Master the Light
Lighting can make or break a selfie. I chase golden hour—that soft glow right after sunrise or before sunset. It flatters skin and adds warmth. In Cape Town, I rose at dawn for Table Mountain pics—the light was magic.
Avoid midday sun. Harsh shadows hide your features. Instead, face the light source for even illumination. On cloudy days, diffuse light evens everything out—no squinting needed.
Backlighting creates drama. Position the sun behind you for silhouettes against skylines. In Paris, I used this at the Eiffel Tower—turned a basic shot into art.
Use natural reflectors too. White walls or sand bounce light back. If it’s too dark, a phone flashlight works in a pinch. Play with these, and your selfies glow.

Remember, the best equipment is the one you feel comfortable using. Practice a bit, and soon you’ll be taking travel selfies like a pro. Bon voyage!
Find Good Lighting
Travel selfies are the perfect way to capture memories. But, ever wondered why some selfies shine while others fall flat? One secret is finding good lighting. Good lighting can make a world of difference, turning an average selfie into a stunning one. Let’s dive into how you can find that perfect light.
Natural Light Tips
Natural light is your best friend when it comes to taking travel selfies. Why? Because it’s soft, even, and flattering.
- Golden Hour: This is the time just after sunrise and just before sunset. The light is soft and warm, making your skin glow beautifully.
- Cloudy Days: Don’t shy away from cloudy days. The clouds act like a giant diffuser, spreading light evenly and reducing harsh shadows.
- Facing the Light: Always face towards the light source. This way, your face will be well-lit, and your features will be more defined.
Avoiding Shadows
Shadows can be tricky. They can add drama, but most times, they just mess up your selfie.
- Midday Sun: Try to avoid taking selfies in the midday sun. The light is harsh, and it can create unflattering shadows on your face.
- Shade: If the sun is too strong, find some shade. But, make sure the light is still hitting you evenly. A tree or a building can provide the perfect amount of shade.
- Reflectors: If you’re serious about your selfies, consider using a reflector. It can bounce light back onto your face, reducing shadows and adding a nice glow.
Remember, the goal is to have fun and feel confident in your selfies. Experiment with these tips and see what works best for you. Who knows, you might just discover your new favorite selfie spot!
Pick The Perfect Background
Travel selfies are a great way to capture memories and share your adventures with friends and family. But let’s be honest, not all selfies are created equal. One of the key elements to a stunning travel selfie is choosing the right background. A perfect backdrop can transform a simple photo into a breathtaking memory. Here’s how to pick the perfect background for your travel selfies.
Pick Epic Backdrops
Backgrounds tell the story. I seek spots that scream adventure—beaches with crashing waves, mountain vistas, or urban street art. In Iceland, lava fields added texture and scale.
Frame with elements around you. Archways or windows draw eyes in. Leading lines like roads or rivers guide the view. I once used a winding path in Kyoto’s bamboo forest—pulled the whole scene together.
Add scale for impact. Include a tree or person nearby to show vastness. In the Grand Canyon, my tiny figure emphasized the depth. Avoid clutter—simplify to focus on you and the place.
Mix it up. Forests for serenity, cities for energy. Each backdrop boosts confidence by shifting focus from just your face.
Nail Angles and Composition
Angles change everything. Hold the camera high for a slimming effect—great for full-body shots. Low angles add power, like kneeling for a monument towering above.
Rule of thirds is key. Imagine a grid—place yourself off-center for balance. I enable it on my phone for quick checks. In New York, this made Central Park selfies dynamic.
Experiment with perspectives. Flip the camera underwater or through foliage. Side angles highlight textures in light. Burst mode captures motion—walk toward the lens for candid feels.
Depth matters. Foreground elements like flowers pull viewers in. I’ve layered shots in Moroccan riads—added mystery and depth.
Pose Naturally and Boldly
Poses should feel you. Start simple: glance away for a thoughtful vibe. In Bali, I faced the ocean, back to camera—hid any nerves.
Add action for energy. Jump mid-air or flip hair in wind. Hold props—a coffee cup or map—for relaxed hands. Sitting differently, like on steps, breaks stiffness.
Body language counts. Stand tall, shoulders back. Smile genuinely or go serious for mood. Practice in mirrors to find your angles—right side for me.
Mix poses. One face-forward, three alternatives like feet in sand or hands framing views. This variety builds confidence fast.

Capture the Moment Right
Timing the shot is crucial. Use self-timers—10 seconds gives setup time. Continuous mode fires multiples—pick the best later.
For solos, video in 4K then screenshot. Move freely, grab stills after. In Singapore’s gardens, this caught perfect expressions.
Remote apps let you preview and adjust. Hide the phone in pocket for seamless shots. Intervalometers for time-lapses add wow factor.
Be patient. Wait for the right light or clear space. These tricks turn rushed snaps into keepers.
Remember, the background is not just about aesthetics. It adds context to your travel stories and makes your photos more engaging. So next time you’re out exploring, take a moment to pick the perfect background. Your future self will thank you!
Edit to Perfection
Post-capture magic happens in editing. I use Lightroom or Snapseed—free and powerful. Boost colors subtly—don’t overdo saturation.
Fix exposure first. Brighten shadows, tone down highlights. Crop for better composition—tighten on key elements.
Filters? Lightly. Preserve natural vibes. In Thailand, I warmed elephant sanctuary pics for golden tones.
Remove distractions. Spot heal blemishes or trash. Share originals too—authenticity shines. Editing polishes without faking.
Stay Safe and Respectful
Safety first, always. Scan surroundings before setup—avoid edges or busy roads. In India, I skipped cliff selfies after hearing stories.
Respect locals. Ask permission in cultural spots. No disrupting rituals for a shot. In Mexico, I waited patiently at cenotes—earned smiles from others.
Secure gear. Use straps, keep valuables close. Travel insurance covers theft—saved me once in Barcelona.
Build awareness. Ignore stares; focus on your joy. This mindset keeps you confident and safe.

Build Your Confidence Step by Step
Confidence grows with practice. Start small—home selfies to test gear. Ignore judgments; most people admire the effort.
Celebrate wins. Review shots post-trip—see improvements. Share with close friends first for feedback.
Over time, it feels natural. My first solo shoot in Romania was awkward, but now I own it. Embrace the process; it’s part of the adventure.
Remember, these pics are for you. They capture growth and stories. Keep experimenting—you’ll love the results.
Frequently Asked Questions
How do I overcome shyness when taking selfies in public?
Start in quieter spots like early mornings. Practice poses at home to feel prepared. Focus on the excitement of the memory, not passersby. Over time, it gets easier—I’ve been there.
What’s the best free app for editing travel selfies?
I recommend Snapseed or Lightroom Mobile. They offer tools for color tweaks and cropping. Easy interfaces, no watermarks. Play around to find your style.
Do I need expensive gear for great travel selfies?
Not at all. A smartphone with a good camera works wonders. Add a cheap tripod and remote for upgrades. Focus on technique over tech—lighting and composition matter more.
How can I take full-body shots alone?
Use a tripod with a timer or remote. Prop your phone if no tripod. Video mode lets you move, then screenshot the best frame. Practice setup for quick execution.
What if strangers take bad photos of me?
Set the frame first—show them an example. Use burst mode for options. Choose people with cameras; they often know basics. Offer to snap theirs first for goodwill.
Is golden hour really that important?
Yes, it transforms shots with soft, flattering light. Apps track it per location. I’ve skipped it and regretted flat pics—try it once, you’ll see.
How do I include more scenery in selfies?
Wide-angle lenses or attachments help. Step back with a tripod. Rule of thirds places you off-center, letting background shine. Experiment for balance.
Wrapping It Up
There you have it, pals—my hard-earned wisdom on nailing travel selfies with confidence. From gearing up to editing that final glow, it’s all about blending prep with spontaneity. I’ve turned awkward moments into treasured keepsakes across continents. Give these a shot on your next adventure. You’ll capture not just places, but your spirit in them. Safe travels, and tag me in those pics—we’ll swap stories soon. Cheers to confident clicks!


